
When you learn any tool, always look for contents related to Tips & Tricks. This lets you to understand the tool features & functionally in detail, know the shortcuts which in turn improves the productivity. This also covers the gaps in learning the small elements that you missed in the structured learning in terms of templates, automate workflows and automated reminders etcetera. Here’s the list of some useful 10 Smartsheet Tips and Tricks. Lets unveil the learning together!

Smart Tip 1: Take advantage of Smartsheet templates
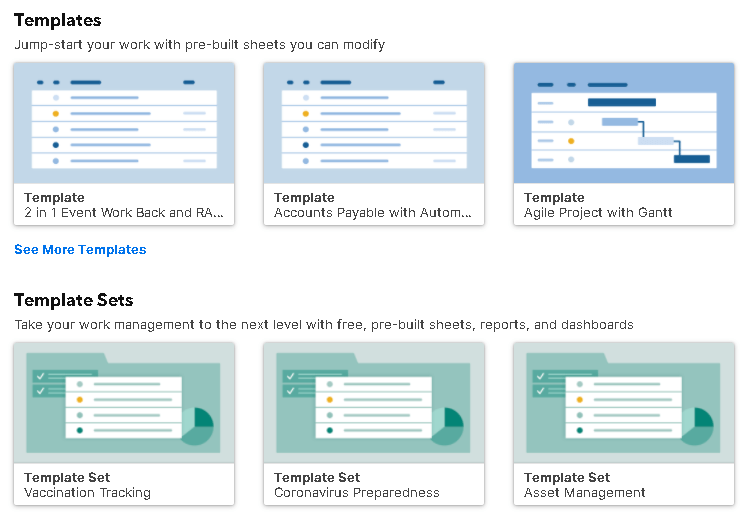
Smartsheet comes with hundreds of prebuilt professional-looking templates, which one can find in the Solution Center. It’s a lot quicker than starting a sheet completely from scratch right.
For every category that you need, you’ll find templates for different solutions within that category. For example, under Projects, we can find a template for managing the project budget, a template for an annual calendar, and so on.
There are also examples filled in to give you an idea of how to use this particular template.
So, before you start working on your next project, be sure to take some time to browse through the templates in Smartsheet to see if something already exists for you to get started.

Smart Tip 2: Quickly check due dates in Calendar View:
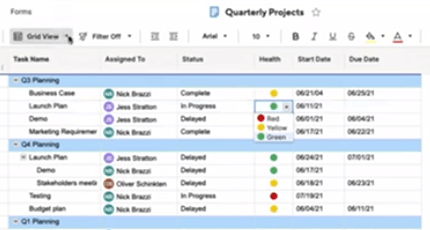
When you need to quickly see at a glance on the tasks pending or the various due dates or milestones your projects need to hit, it’s a good idea to switch the sheet to calendar view.
Calendar view gives you an easy and interactive way to quickly see the tasks that are data-driven, overlaid on a weekly or monthly calendar.
Make edits and changes to your tasks from right here in calendar view. To change the start or end date of the task just by dragging either end of the task.
We can publish your Smartsheet Calendar to Google Calendar and you’ll be able to see your tasks in your Google Calendar.
Smart Tip 3: Autofill formulas in Smartsheet
The big potential time-saver in Smartsheet is the Autofill formulas. It’s a hassle-free step of having to manually enter formulas in your sheets.
Autofill is triggered only at certain cases:
- Will work when you type a formula and then type numbers into the blank row immediately beneath that row.
- Will work when you type into a blank or newly inserted row that is between two other rows that contain the same formula.
- Will work if you type into the top-most or bottom-most row of the sheet as long as it’s above or below two rows that have the same formula.
Smart Tip 4: Capture and markup images with the mobile app
The Smartsheet mobile app available for iOS and Android devices lets you access all of your sheets.
Additionally, since all mobile phones have built in cameras, you can use the Smartsheet app to quickly and easily capture images and mark them up.
In addition to it giving you access to view and edit your sheets and also directly add and markup photos instead of having to upload them to your computer first and add them from there.
Smart Tip 5: Review documents easily with Proof feature
One of the biggest advantages of tracking your projects and tasks in Smartsheet is that you can keep everything related to the project in the sheet itself.
Configuration mgmt is the key functionaity that one can gain from the smartsheet. You can upload documents for your team members to proof, eliminating the common problem of having to make sure the current version of a document is emailed or shared with the same people at the same time.
Proof Feature – Add the document one want to review as Proof in the row level attachemnt.
Use annotations tool to mark up in the document. One can also add comments to the document.
Once review and update is complete, one can also upload new versions of proofs, allowing everyone to see the updated version in the same place.
Generally, Previous versions are closed to comments and review. This ensures that everyone only comments on the most current version. That’s how to set up a document to be proofed in your sheets.
Smart Tip 6: Create Dashboards from the Smartsheet
Dashboards in Smartsheet are a great way to pull important data from multiple sheets and other sources and display them in one location so everyone can access that information in that location without having to open and read through multiple sheets and reports.
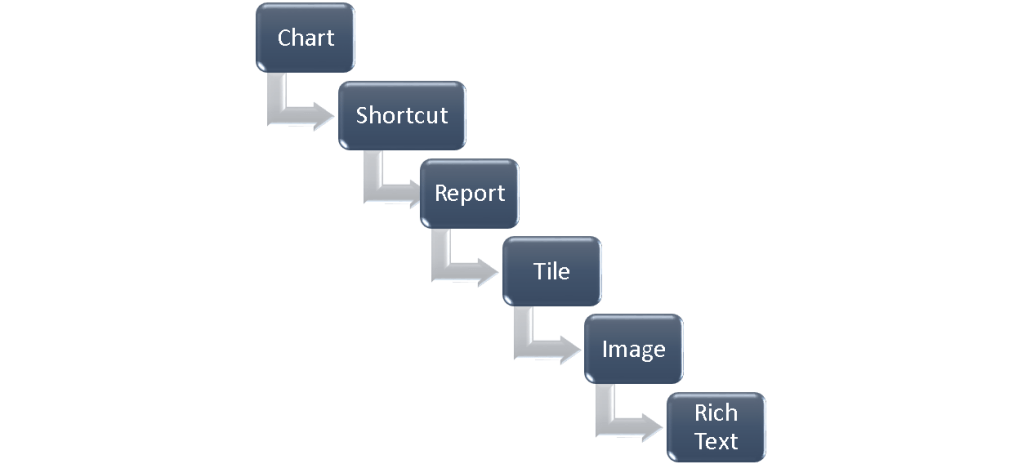
There are several types of widgets that you can use to display the data and information that your team and other users need to view or interact with.
Below is the list of commonly used widgets in Smartsheet Dashboard.
You can also share it out to your team or others, you can click Share, and you’ll see the usual options to share to individuals or groups.
Admins and Viewers – Admin will have edit access to your dashboard whereas viewers can’t change it. Alternatively, you can File-> Publish to send out a read-only version that anyone can view, even if they don’t have a Smartsheet account
Smart Tip 7: Set up column filters in Smartsheet
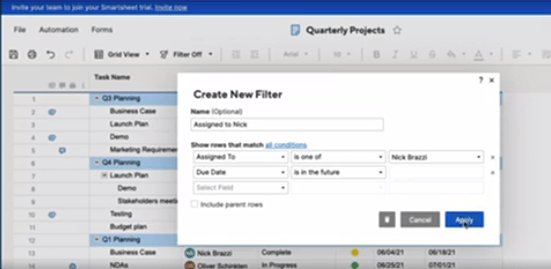
Colum filters in Smartsheet lets you easily display just the items that match the criteria you’re looking for.
You can creat multiple filters and switch the view.
Alternatively, one can also duplicate filters if you want to base a new filter off an existing one by rolling over the filter and clicking the second button.
That’s how to create column filters to sort your sheets and quickly locate items and tasks.
Smart Tip 8: Use Card View to visually manage your work
Card view is a way to prioritize and organize the tasks in your sheet, by viewing them as a list of cards in a column, rather than in a grid like view.
In order to use card view, your sheet needs to have the below type of fields.
Drop down list Eg: Status
A contact list Eg: Assigned resources
A symbols column Eg: Red/ Amber / Blue
You can perform all the updates/changes in the card view which will be updated in Grid view in real-time as well.
You can also add new cards by clicking the plus button in any lane, and then clicking the edit button.
Smart Tip 9: Use column types to control your data
When working in Smartsheet, you can set data types for different type of fields.
Restrict the fields to only date value, selection from the drop down list etc.
Defining the column types gives lot more control of what kind of data is allowed in the column fields.
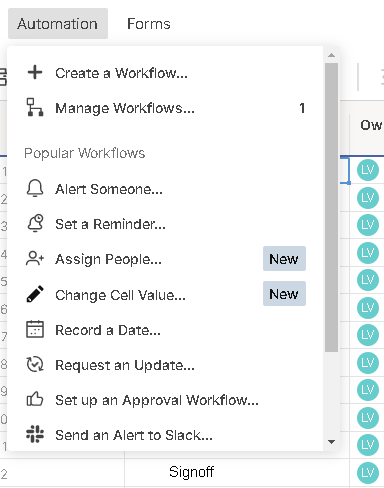
Smart Tip 10: Automation – Set up notifications & Automated alerts based on changes or reminders
It’s a good idea to keep push notifications enabled on your phone so you’ll immediately know when certain changes, requests, or actions are taken in the sheets you’re working with.
In Smartsheet, set up automated alerts and reminders to make sure the right people on your team get updated so they can act on incoming data as quickly as possible.
Workflows are based on triggers
Hope you enjoyed that quick knowledge snack.
Discover more from LR Virtual Classroom
Subscribe to get the latest posts sent to your email.
